Turtleneck Dress Sleeveless
hey. welcome to another episode of get threadywith me. today, i’m going to show you all how to make a high-neck sleeveless crop top.this style of shirt is a really nice, basic, yet flattering piece to own, and they go withpretty much – anything. so let’s go! okay, so the first thing i need to do is tomake the pattern, and to do this i pick out a t-shirt that fits me well, is fairly tight-fittingand is made out of stretchy fabric. you can pretty much use any tight-fitting t-shirt– but the most important thing is that the t-shirt needs to have a high back of the neck. so to make the pattern, i first turn thist-shirt inside out. it needs to lie with the
back of the shirt (which is usually wherethe tag is) facing up. first i make a mark 2 inches away from theneckline, on both sides, on the top of this seam. then, i make a mark directly underneath each armhole seam. then i need to work out what width the bust measurement needs to be.so i took my bust measurement. then, i took 2 inches off this measurement.and then i divided this by 2. this gives me 17 inches.so, i make two marks at the same height as the armholes, just bringing them in so thatthis is 17 inches across. now i’m going to join up these two markswith a curve.
now you can either use one of these frenchcurve rulers if you have one, or you can just eyeball it. with the curve, you want to kindof follow the shape of the curve of the armhole on the t-shirt that’s already there, butbringing the curve in at the top so that it meets up with your other mark. the next step is to decide how long you wantthe shirt to be. i wanted my top to be around 17 and a half inches long. i took off an inchto allow for the turtle neck, but then added it back on for the hem allowance at the bottomof the shirt. so, i made a mark 17 and a half inches below the centre of the t-shirt’sneckline. the bottom of the crop top is going to sitpretty much at your waistline. so, i took
my waist measurement and then again, i minus2 inches, and then i divided this measurement by 2. so, for me, i got 14 inches. so i’m goingto make this bottom line 14 inches long, by connecting up these 3 marks in a straightline. and then lastly i need to connect up thesetwo lines. and this is what my basic top pattern is goingto look like. now i need to transfer this pattern onto somepaper. i fold the shirt exactly in half and i puta piece of paper inside, matching up the edges of the paper with the fold.
then, using some pins, i press through theshirt, following the chalk lines, all the way around.this creates small holes on the paper below. then, all i need to do is simply connect thesesmall holes together just like a join-the-dot picture. and i cut this out. see! they're the samesize! woo hoo! okay, so this is the only pattern piece thati'm going to need, and it’s going to be used for both the front and the back of theshirt. now that's done, on to fabrics. the fabricthat i’m making my shirt out of is a very stretchy, 2-way stretch ribbed jersey, butyou can pretty much use any stretchy jersey fabric. to copy my pattern onto the fabric, i foldthe fabric in half, and then i place the pattern
piece on top, with this edge on the fold. now because i don’t trust myself to cutit out accurately while it’s just on top like that, i pin it on, trace around it, thenremove the pattern piece, put pins in to hold the two layers in place, and then i cut aroundthe traced lines. and when i unfold it, i have this!now i simply need to do this once more, so that i'll have 2 pieces. now that i have 2 identical pieces, i sandwichthem together, and then i sew the two pieces together atthe sides and at the shoulders. and it’s also a good idea to pin pin pinwhen you’re working with stretchy fabric.
to sew the front and back pieces together,i am using a zig zag stitch. some extra tips to make your life easier is to also use athread that’s very similar to the colour of your fabric, and to use a ball-point jerseyneedle, instead of a regular sewing machine needle. once these two pieces are sewn together, iturn the top inside out so that the seams are on the inside. and it’s a good idea to try it on at thisstage, to make sure that it fits alright, and that you can get your head through theneckhole, etc. now i’m going to make the "cuff" for theneck. i measure the circumference of the neck hole, which is 10 inches.i then take half an inch off that measurement,
and so i cut out a strip which is only 9 anda half inches long. it’s also 3 inches wide, but if you wantmore of a turtle neck, you can increase this, or if you less of a turtle neck then decreasethis and make the strip thinner. anyway, after cutting this rectangle out ifold it in half like this, and then i sew down here, with a half inch seam allowance. then, i turn the piece inside-out so thatthe seam is on the inside, and then fold it in half length-ways like this, to give myselfthis kind of cuff… thing. then, i place 4 pins equally around the neckhole. so, one pin on each shoulder seam, and one in the centre front and one in the centreback. i do the same thing on the neck cuff,
with 4 evenly-spaced pins.i’m going to match these pins up when i sew the two pieces together. to sew the cuff on, i’m first removing thisdoobly-doo from my machine so that the cuff will fit over the top. then, i slide the neck cuff on, with the rawedges facing this way, and the neckline of the shirt goes underneath it. so, the cuffis going to be sewn onto the right side of the shirt. once i match up the raw edges, i sew the neckcuff onto the shirt! i do this by using a zig-zag stitch, and at the same time stretchingthe fabric underneath so each set of pins
basically match up. when i get to the next set of pins, i removethem, and then i do the same thing – i stitch along the edge, stretching the fabrics sothat the next set of pins line up. and i do this all around the neckhole untili reach the point where i started from. and – that's the neckline done! for the armholes, i’m basically going todo the exact same thing, however the strips are going to be a little bit thinner.i measure the armhole circumference (which for me, is 15 inches), then this time i subtract1 whole inch from this measurement. so, i cut out a strip that’s 14 inches long and1.5 inches wide.
then i do the exact same thing that i didfor the neck. i fold this strip in half, sew here, turn it around, fold it in half lengthwaysto get a cuff, quarter it with pins, quarter the armhole evenly with pins, and i sew themtogether, raw edges matching, with the cuff on the right side of the shirt. and again,i stretch the fabric while i sew so that each set of pins matches up with each other. now the last thing that i need to do is tohem the bottom of the shirt. so, i turn the shirt inside out, and theni fold the bottom up about inch, and then sew across it.now i recently got myself this special sewing foot called a “walking footâ€. this thingmakes sewing with stretchy fabrics a dream.
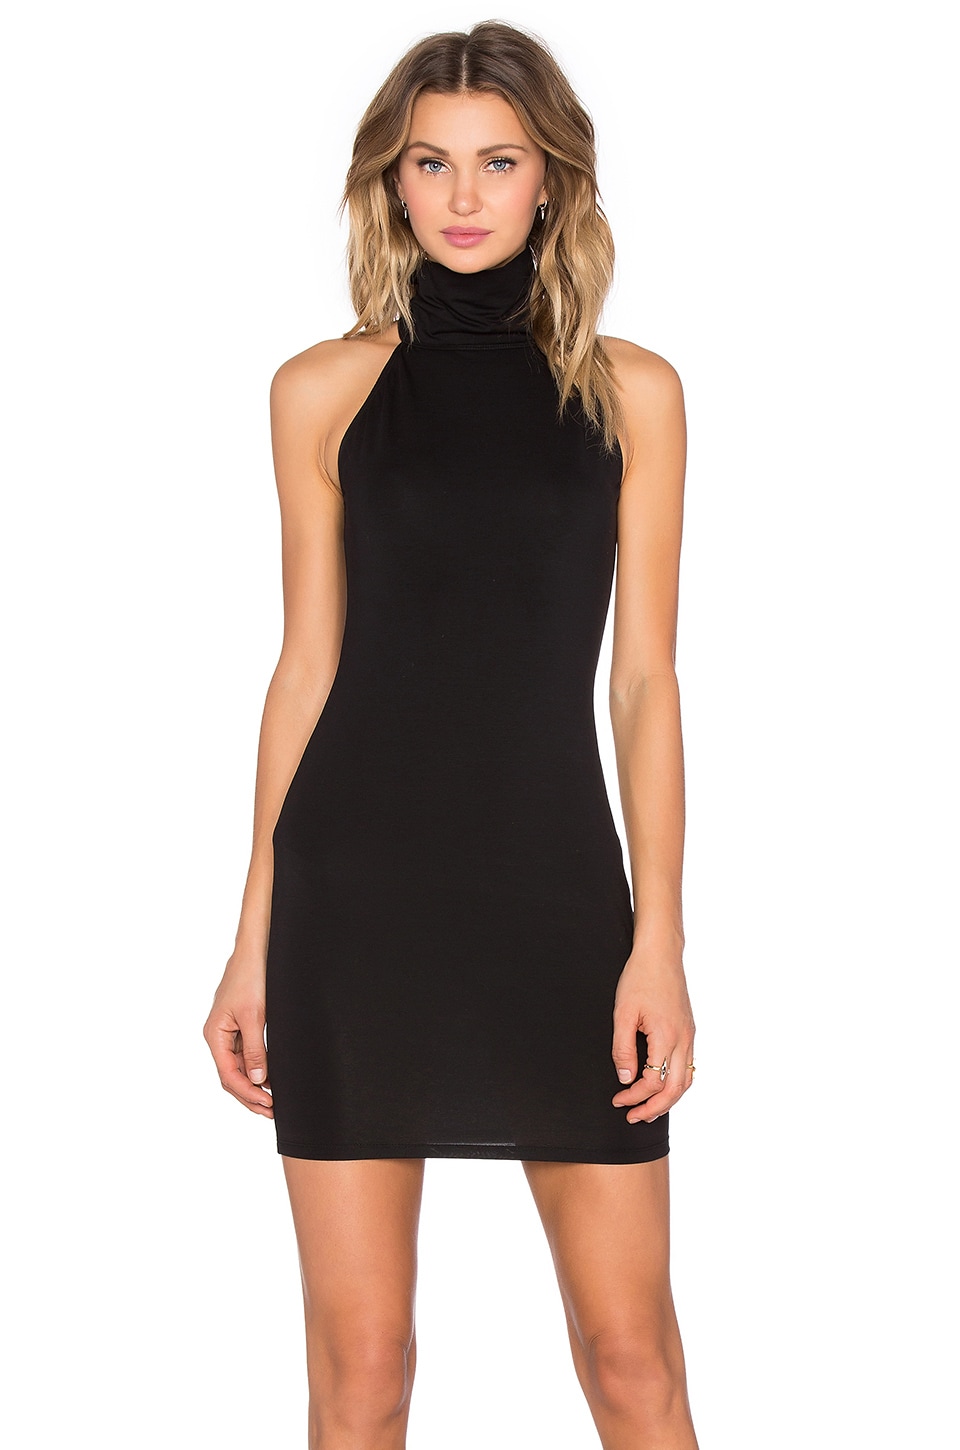
basically, it helps feed all the fabric throughevenly to stop the hem from ruffling when you sew it. if you don’t own a walking foot,however, i recommend sewing the hem using a piece of paper underneath, just like i didin this video here. here’s a close up of the walking foot inaction. and – look at my nice, flat hem! so, i finished the top - but then i triedit on a decided that the armholes were slightly too tight. so i actually wanted to try andmake the top again, but modify the pattern slightly to make the armholes larger.so, back to my pattern - all i simply did was to make my armhole a little bit largerby extending this curve.
and, i tried again, this time using the samefabric but in black. and i’m not going to film the whole thing again because all thesteps i used are exactly the same as before! so – that’s it! [music: electronic dance music] so, yeah, that's it. that was actually surprisinglyeasy to do. the second top that i made - so, this one - actually only took me about anhour to make, and that was because i wasn't filming, i was sewing at my normal sewingspeed. so, yeah, you can pretty much whip up a bunch of these in all different coloursin no time. and while it's a really nice basic shirt to own that'll go with a lot of things,you can also do some more interesting things
with it, with say t-shirt transfers, or fabricpaints, or embroidery, or using different fabrics for the cuffs and the collar, to makesome really interesting tops! and - i'll see you all for my next video.bye! [music plays]
Tidak ada komentar:
Posting Komentar