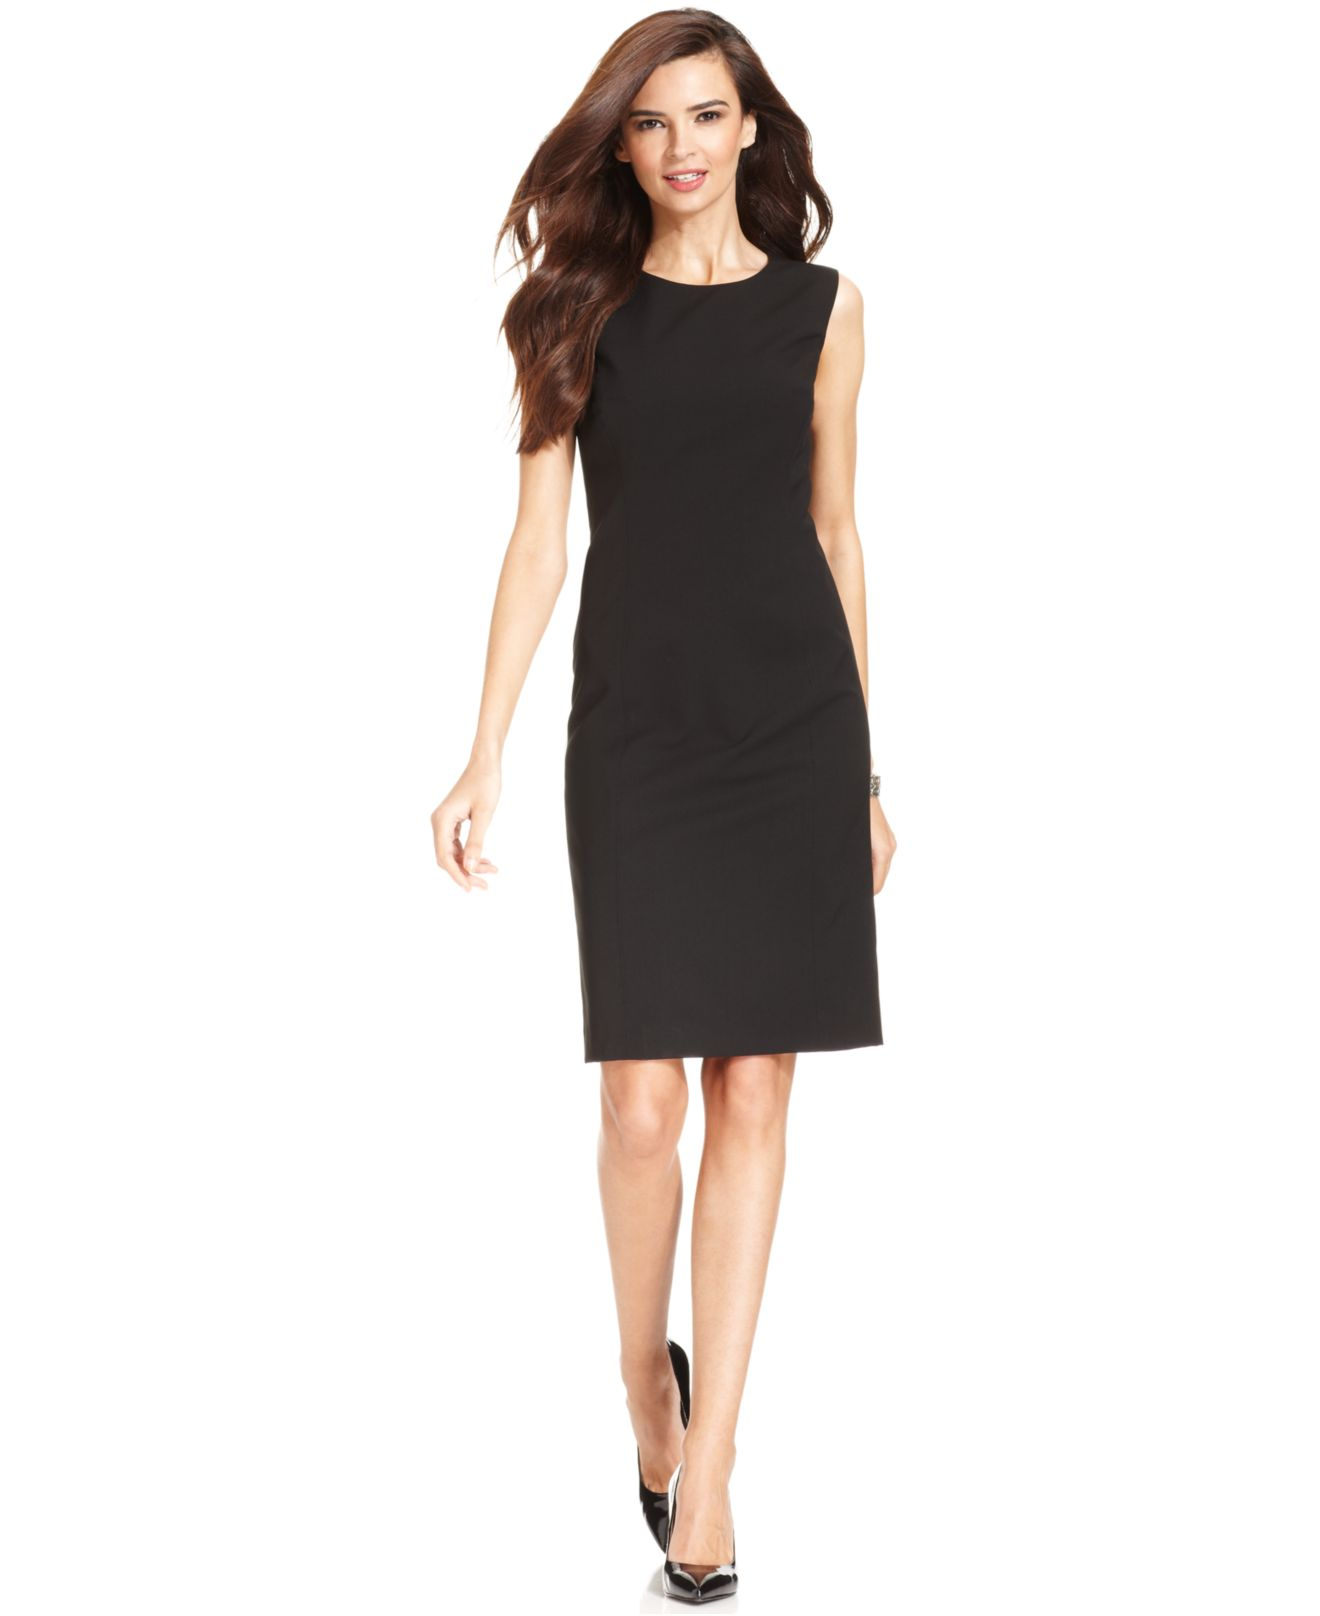
Sleeveless Sheath Dress
this dress can be worn with a lightweight top underneath or as it is, so you can wear it in lots of different climates. i have made it here in a double knit wool, it does not have much stretch but it is soft and easy to handle. it could be made in any medium weight fabric, you can also change the color of the elastic and, if you do not like the elastic you can leave it out. notch the patterns to indicate seam and hem allowances and the position of the elastic with sharp scissors. this allows you to lift the patterns from the fabric and still be able to see the indicators for seam allowance and elasitc, etc. lift the patterns from the side front and the side back panels. stitch together and neaten the seams using a zigzag stitch or an over locker if you have one.
make sure you neaten them separately. pin the elastic into position and stitch onto the seam allowance edge to secure it. the elastic is not tight it just sits comfortably on the fabric. stitch the front and back pattern pieces to these side front panels. repeat this process on both sides. neaten together and press the seam allowances towards the center front and center back respectively. pin and sew the shoulder seams together, neaten and press open top stitch using whatever contrasting thread you choose, you may even choose not to top stitch at all.
when you are considering top stitching, in the video here i have used the width of the sewing machine foot as a guide to the top stitching, but you could make it as wide as you like or as narrow as you like, as long as you catch the seam allowance that is underneath the stitching, if you do not catch the seam allowance the top stitching is not as pronounced and disappears into the fabric. you could even do one row right next to your seam and another row the width of the machine foot away, so that you have a double row of top stitching. take the armhole band and sew the ends together to make a tube. pin and sew onto the armholes of the dress matching these seams on the armhole band
with the underarm seams of the dress. depending on how much stretch is in your fabric you may need to adjust the length of these bands. it is a bit of trial and error. the band should stretch onto the armhole slightly if it doesn't stretch on it will pucker around your armhole. probably best to pin it on first, try it on, and have a look before you stitch it. neaten and press the seam allowance in towards the dress. now repeat with the neck band except you are not making a tube with the neck band, it will be closed up at the center back with the zipper. as with all neatening, if you have an over locker, use that. but a zigzag stitch on your sewing machine,
will work just as well. top stitch as you have before on the front and back panels of the dress. stitch the center back seam together up to the balance mark for the zipper, neaten, and press this open. make sure you press all your seams as you go because you will achieve a more professional finish, and a much better finish to your garment. clip into the seam allowance where the zipper notch is so that the seam allowance for the zipper can be brought to the outside. this will enable you to hide the seam allowance in the tape of the zipper. we are putting the zipper in with the tape exposed here, so pin the zipper with the tape exposed and fold the tape end back on itself to be hidden.
make sure the zipper teeth match at the neck edge. press this seam open. stitch the zipper to the dress using a zipper foot, this will hold the zipper in position for the next step. fold the zipper back onto the dress, trim any excess seam allowance so it does not protrude past the tape. pin and stitch this down into position. check that when you do the zip up that it meets at the neck edge and is even. pin and neaten your hem. trim your threads as you go, so that you have a more professional finish.
measure and sew into position and press your final garment.
Tidak ada komentar:
Posting Komentar